Is it a Fender or a Gibson? My first train model.
I will explain my learning process and experience with my first contact with my own training model.
Is it a Fender or a Gibson? My first train model.
In this publication, I will explain my learning process and experience with my first contact with my own training model. The intention was to create a model that would recognise or be able to discern between two brands of electric guitar. . One was a Fender Telecaster model and the other a Gibson Les Paul model.
Step1: Download images of Fender Telecaster and Gibson Les Paul guitars
The first thing I have done is to prepare the ground to address the issue, to create a model that differentiates two brands-models of electric guitars.. To do this, I installed the fastai library for downloading Duck Duck Go images. !pip install -Uqq fastai duckduckgo_search
Next I defined the function that will allow me to download 30 images of each of the two search terms: def search_images(term, max_images=30)
from duckduckgo_search import ddg_images

from fastcore.all import *

def search_images(term, max_images=30)

print(f"Searching for '{term}'")

return L(ddg_images(term, max_results=max_images)).itemgot('image')
Let’s search for a picture of an electric guitar and see what kind of result we get. We’ll start by getting the URLs from a search:
#NB: `search_images` depends on duckduckgo.com, which doesn't always return correct responses.
#If you get a JSON error, just try running it again (it may take a couple of tries).

urls = search_images('fender-telecaster', max_images=1)

urls[0]
Once downloaded, let’s take a look at it:
from fastdownload import download_url
dest = 'fender-tele.jpg'
download_url(urls[0], dest, show_progress=False)
from fastai.vision.all import *
im = Image.open(dest)
im.to_thumb(256,256)
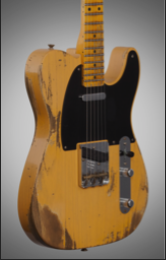
Awsome..It’s a nice Fender Telecaster Relic!!!!
It seems that the desired object, a Fender Telecaster Relic guitar, which is a wood ageing treatment, has been successfully downloaded. Next we will do the same with the second brand of guitar.
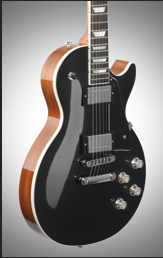
python download_url(search_images('gibson-les paul', max_images=1)[0], 'gibson-l.jpg', show_progress=False)
Image.open('gibson-l.jpg').to_thumb(256,256)
Searching for 'gibson-les paul
Our searches have come up with the right results. So let’s take a few examples of each of the “fender-tele” and “gibson-lespaul” photos, and save each group of photos in a different folder (I’m also trying to take a range of lighting conditions here):
searches = 'fender-telecaster','gibson-les paul'
path = Path('fender_or_gibson')
from time import sleep
for o in searches:
    dest = (path/o)
    dest.mkdir(exist_ok=True, parents=True)
    download_images(dest, urls=search_images(f'{o} photo'))
    sleep(10)  # Pause between searches to avoid over-loading server
    download_images(dest, urls=search_images(f'{o} sun photo'))
    sleep(10)
    download_images(dest, urls=search_images(f'{o} shade photo'))
    sleep(10)
    resize_images(path/o, max_size=400, dest=path/o)
    ```

`out:
Searching for 'fender-telecaster photo'
Searching for 'fender-telecaster sun photo'
Searching for 'fender-telecaster shade photo'
Searching for 'gibson-les paul photo'
Searching for 'gibson-les paul sun photo'
Searching for 'gibson-les paul shade photo'`


Some photos may not download correctly, which may cause our model training to fail, so we will delete them:

 ```python
    failed = verify_images(get_image_files(path))
    failed.map(Path.unlink)
    len(failed)
In this case I got two incorrect pictures, which by means of the code above are automatically unlinked.
Step2: To train the model
To train a model, we will need DataLoaders, which is an object containing a training set (the images used to create a model) and a validation set (the images used to check the accuracy of a model – not used during training). In fastai we can easily create that using a DataBlock, and see sample images from it:
dls = DataBlock(
    blocks=(ImageBlock, CategoryBlock),
    get_items=get_image_files,
    splitter=RandomSplitter(valid_pct=0.2, seed=42),
    get_y=parent_label,
    item_tfms=[Resize(192, method='squish')]
).dataloaders(path, bs=32)

dls.show_batch(max_n=8)
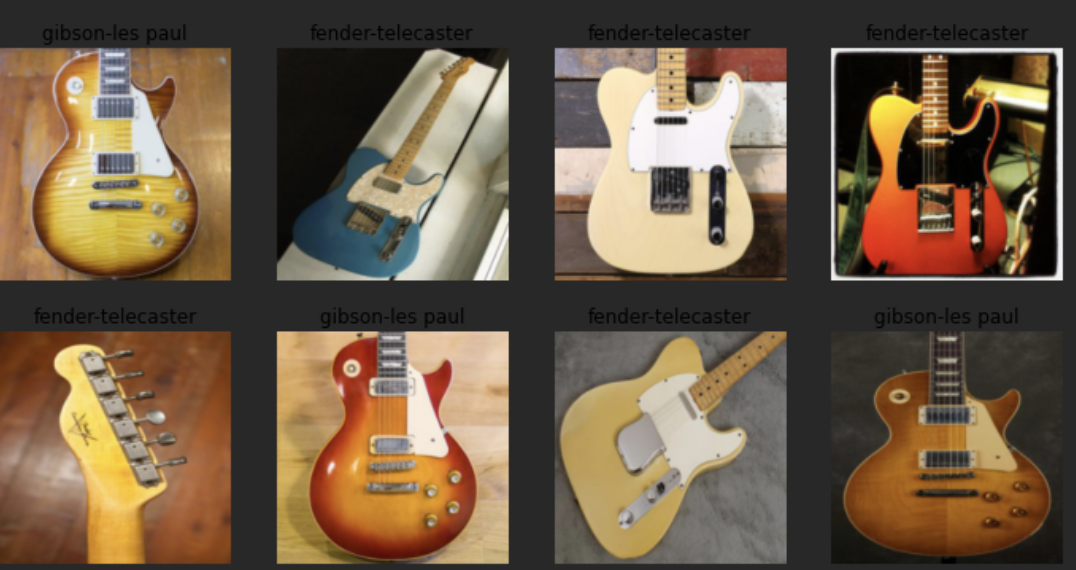
Once our datablock is done, we print a sample, in my case 8 images previously resized to 192x192 pixels, with the code dls.show_batch
Now we are ready to train our model. The fastest computer vision model used is resnet18. It can be trained in a few minutes, even on a CPU. (On a GPU, it usually takes less than 10 seconds…)
fastai comes with a useful fine_tune() method that automatically uses best practices for fine tuning a pre-trained model, so we will use it.
learn = vision_learner(dls, resnet18, metrics=error_rate)
learn.fine_tune(3)
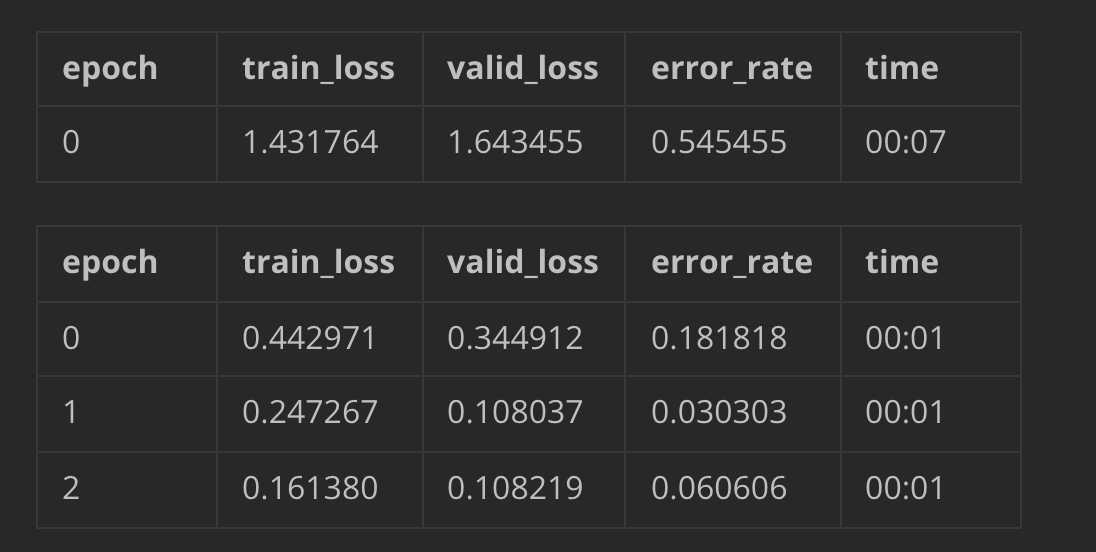
The differences with the training of the first lesson (Is it a bird?) are clear, my model performs clearly worse. While in my model the error rate is 0.060606 starting from an initial 0.545455 in the bird model it is 0.000000. The same could be said for the other parameters. I guess the difference was the pre-trained model that didn’t work so well with my model:

Step3: How well does the model work?
Let’s see what our model thinks about the guitars we downloaded at the beginning, we start first with a Telecaster:
is_tele,_,probs = learn.predict(PILImage.create('fender-tele.jpg'))
print(f"This is a: {is_tele}.")
print(f"Probability it's a tele: {probs[0]:.4f}")
out: This is a: fender-telecaster.
Probability it's a tele: 0.9805
The prediction is very close to 1, so it is almost a hundred percent correct guitar picture and model.
Let’s see what happens with a photo of a Gibson guitar.
is_tele,_,probs = learn.predict(PILImage.create('gibson-l.jpg'))
print(f"This is a: {is_tele}.")
print(f"Probability it's a tele: {probs[0]:.4f}")
out:This is a: fender-telecaster.
Probability it's a tele: 0.7737
It returns a result that is close to 70% of the prediction. Obviously the model is not working very well, since not being a Fender Telecaster it should be close to 0 % of the predicted result.
Finally, I leave the link to access the colab notebook where all the training code is located.